Monday, April 20, 2015

Vintage photos- Family History Chuck and Gretchen

I was at my mom and dads the other day and we were going through some old pictures and I came across a few photos of my dad and his sister from the early 40's and 50's.  I posted them on Facebook in a family history album and had a ton of likes. My cousin thanked me for posting them because she had seen very few pictures of her mom growing up. I have decided to start posting old photos under family history a little more regularly. I really enjoyed the comments and the back and forth with my aunt . She was able to remember dates and where they lived at the time etc.

My dad, Chuck (or when he was little his mom called him Chuckie) grew up in MI with an older sister.  He was almost called Fritz, but thanks to  WWII and anti German sentiment at the time,  a nice Anglo name it was. Charles.

I love these pictures.
Chuck and G--- probably 1943??

1945-ish?

1946-1947?

G--- said my dad was SO HAPPY when he got this cowboy outfit for Christmas.  to me this picture SCREAMS "A Christmas Story". 

My grandparents (L and R) and Aunt G in the back of the sign.  In 1958 they went to Sequoia National Park. I think my dad must have been taking this picture.


I am going to try and post more family photos on a regular basis. I love throwbacks.


Monday, April 6, 2015

Photos from Easter- The Birds and The Bees and a Cat Named Oliver

Yesterday we went to my mom and dads house for the afternoon.  I took my trusty Canon sx50 and played around again.  A perfect spring day.

My parents have recently started urban beekeeping. My youngest son thought it was cool and has really gotten into it. I thought if he can do it I can do it too.  Although I appreciate bees (from a distance!), I am not anxious to go stick my person in their area and start meddling. But I did.

lets suit up!

Me and my dad checking the frames

the smoker

The hive.


Then Finn suited up and helped.


It was really actually pretty cool. I thought I would be terrified, but once I got up there I realized they werent interested in attacking and stinging. They pretty much ignored us.

After we were done with the bees we sat out on the back patio and enjoyed the weather.  Their cat Oliver was outside with us roaming around.  This boy is my buddy.


Towards later afternoon the bluebirds and chickadees started showing off.


Love this camera.

1970's Brick Veneer Backsplash...ADIOS!!

I HATE this stuff.  Pretty sure it was original to the house. This 1972 Brick veneer that they put up with a black concrete mastic type gunk....UGH. This crap is IMPOSSIBLE to get off the walls...no seriously..  You can pry it off and chisel it out, but you are looking at replacing all the drywall etc from the holes and gouges it will leave.

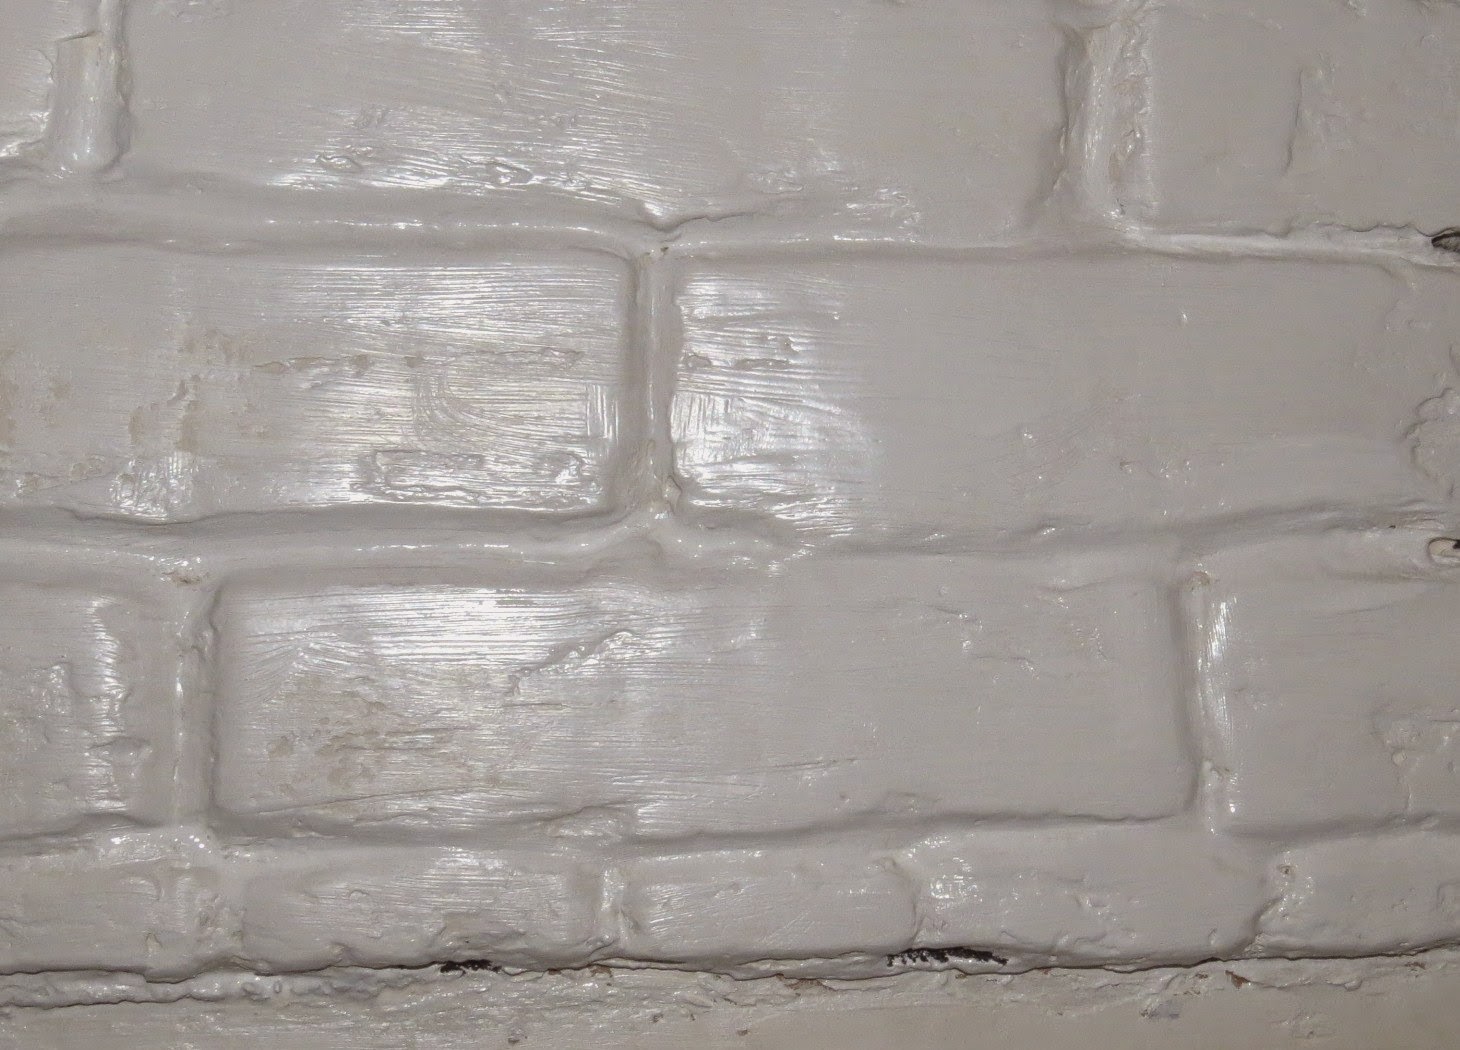
So instead of doing all of that, I decided that I actually like the texture of the "brick", just hate the uneven and jaggedy look and the maroon and orang-y color. After looking online (thanks again pinterest), we found an idea that would save us a lot of work and money, but keep us from having that ugly red brick veneer. Im pretty happy how it turned out. Although this was just going to be a temporary solution (eventually I am going to completely redo the backsplash), I really like how it looks now and am considering keeping it.

We went to Home Depot and purchased a large bucket of compound. It is used for mortaring and brick and patching. It is a do-it-all joint compound.  We covered the entire veneer with it and made the bricks a little more even looking.

We did some nice thick layers and it really evened some things out. Just  by adding the plaster, it totally changed the look of the kitchen.


Look at how much brighter. Just plaster.


We let it dry overnight, then sanded to get any swirls or rough edges off.
I then used Primer to coat twice.
this stuff is the bomb!


After letting the primer dry, I then painted with semi gloss paint - this stuff is the best. Mold and mildew resistant, which is great for the kitchen area.


Just by making this one little change, it has brightened up the kitchen immensely. So although I still have the brick veneer on the walls, it is a little more bearable and looks a LOT better. The 4" gap between counter and brick veneer will eventually be filled in with a backsplash, so I am not leaving that empty. We are waiting for our new countertops to do the backsplash properly.

Oh and we also got a new sink and faucet.


Now onto painting, new countertops, backsplash, new hardware and lighting. Getting closer!!


My new Kitchen Pantries- Thanks IKEA Pax Hack!!!

A few months ago I was scouring Pinterest for kitchen storage and pantry ideas, and  I saw a GREAT post about an IKEA Pax Wardrobe used for that purpose . It was so brilliant, and I told my husband I wanted to do it too.  He wasn't really getting the vision as I was trying to explain it, so I showed him that blog post from Jenna Sue Design.  He really liked the look of it and we decided that was the way we wanted to go.
We measured the back wall (which is almost like a little cove, so it was a perfect place to put these wardrobes) and figured out  how many we needed to fill it.  Our Small cove along the one back wall is 101 inches wide and 96" Tall. We realized we could fit in 2 full width pantries(39 3/8") and 1 half width pantry(19 3/8). There would only be 2 1/2 inches left (basically 1 1/4 on each side once centered) that we could fill in with 1 1/4" PVC wall plank for a perfect fit.
We headed up to IKEA to see which set-up we liked best, which baskets and shelves we wanted, which doors we liked blah blah blah. After deciding which ones we liked we decided to order and have delivered. (honestly best 100$ Ive ever spent. No way could we have gotten all that stuff ourselves)
We were going to order and something cam up that delayed our purchase.  Well at the beginning of March the new Ikea ad came out and guess what....they were on sale!! We ended up saving like $150!! (every little bit helps)
Fast Forward 10 whole agonizing days until they were delivered...

Step One...getting all the stuff out of the eating area, measuring the depth and figuring out where to remove crown and base moulding to fit these wardrobes in.


We get the call at 9am that the truck was about 45 minutes from our house and we couldn't wait!!

DELIVERY!!
3 boxes of wardrobes, 5 boxes of doors, 9 shelves, 3 baskets, 2 boxes of drawers...it was a BIG order.  Even Rusty the cat was interested in helping out.

We open the first one and start to work. Thankfully Ikea furniture is fairly easy and straightforward to put together.  Since this was our first one, it took about an hour . 
1st one up!!

Me for height comparison.  I am 5'11".

The second and third wardrobes went a LOT quicker, since we knew what we were doing.  The middle wardrobe was a half width so it went really smoothly. By the time we got to #3 we were blowing through it. We had them done in about 2 1/2 hours.

As you can see, we live in an old house. The walls, we discovered aren't exactly "level". Well neither are the floors for that matter.  Thankfully These wardrobes are built with levelers, so we were able to manipulate them to get them pretty straight.
You can see the small gap on either side of the pantries. We headed to Lowe's or Home Depot(cant remember which) and purchased 2 of their 8ft long PVC Moulding planks. They were the perfect fit. We adhered them to either side of the wardrobe, and when they had dried we fit the wardrobe into place. These babies are so tight they aren't going ANYWHERE.
We mounted them to the walls, put on the doors and started adding the shelves and baskets etc.
You can see the PVC moulding plank going all the way up to the ceiling. I also added the handles

Ta-Daaaaa.

It took us 14 hours from start to finish.  We ended up going back to Ikea last week and purchasing 3 more shelves and one more small basket for the middle unit. We now have so much room I cant believe it.
We have cleared up SO MUCH storage in our kitchen.  No more shoving everything in the little cabinet space we have, or using a small crummy storage pantry from Big Lots as our food pantry.

So we still have to put crown moulding across the top, but that will happen after we paint the kitchen and replace the moulding everywhere else. i am LOVING this.
Best thing we have ever done for this kitchen (well apart from taking down that tower of terror shelf/oven unit). I finally feel like I am making progress here with this house.


Day trip from Boise- Hells Canyon and Dam , and Owyhee Reservoir

"Hells Canyon, North America's deepest rover gorge, encompasses a vastly remote region with dramatic changes in elevation, terrain,...